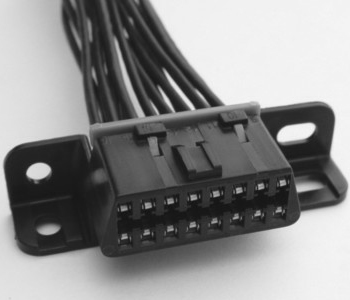
Sunday, October 9, 2011

Underhood inspection

Now that the emissions is done, you may begin the full safety inspection. Inspect the wiper blades for tears then open the hood. Make sure the battery is safely secured and held down tight. While you'reunder the hood, take a look at the belts and check the engine fluids and note down any problems you may find. Also check for the emissions components under the hood such as the pcv valve, air pump (if originally equipped), the EVAP canister and any broken vacuum lines. A loose battery hold down or torn wipers will fail the safety inspection. Also if the hood latching mechanism is not working properly, this will fail safety too. Remember, even though a car may have passed the emissions test, missing or incorrectly emissions components will fail the safety inspection.

Emissions testing

DLC connector
It is now time to perform the emissions test. After entering your drivers license number into the emissions machine, the machine will tell you to scan the vehicle registration. This is why you verified its expiration date in the first step. From there follow the directions on the screen. It will have you enter the vehicle year, make, model, transmission type, registration county and GVWR (gross vehicle weight rating) if its a truck or minivan. Then you will have to perform the gas cap test. Connect the gas cap to the proper adapter located by the testing machine then connect the emissions air hose. begin the test and the machine will apply a set pressure to the gas cap to ensure it isn't leaking. When that is finished, connect the DLC(data link connector) to the DLC in the vehicle. This is the rectangular connector usually located on the driver side foot well, but some European cars have them on the passenger side or integrated into the center console. Start the car and press enter to begin the test and the machine will scan the car for any problems while it is idling. If all goes well, the test will be over in less than a minute and you will start writing the emissions sticker.

Exterior check

Upon pulling the vehicle back into the shop after the test drive, honk the horn to make sure it works and have a fellow employee assist in verifying all exterior lights are in working order. Any light that doesnt turn on when commanded to fails for the safety inspection. Be sure there arent any aftermarket equipment in front of any of the lights for this is grounds for a failuer and will require removal of the part prior to affixing a safety sticker. Broken lenses, missing lenses or cracked lenses will need replacing before a vehicle can pass the inspection. During the light check, walk around the car and check for any body damage or protruding body parts. Body damage may fail depending on the extent of said damage. If a bumper is just hanging on or flopping around or has sharp corners sticking out, that is considered a hazard and will fail.